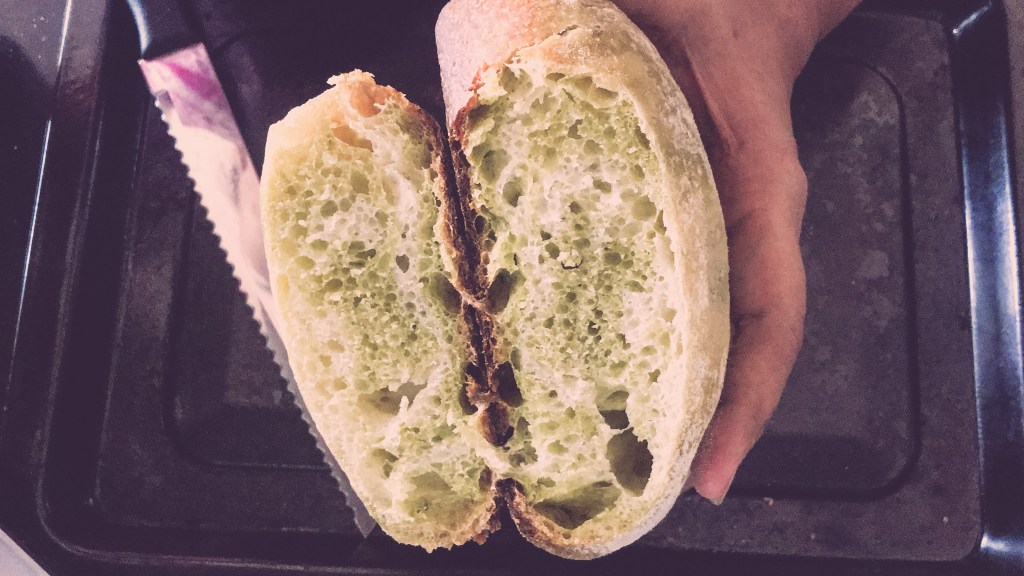
Today we have the second in the series of ‘Bread of a kind’. I have made another sourdough bread, a boule but this time I have used the coil folding method instead of the usual stretch and fold method for strengthening and developing the gluten in the dough. Coil fold seemed easier to me and I like it the few times I have done it in the past one month. I also see my dough is better with the coil fold as compared to the stretch and fold and the crumb seems more open as also the oven rise is better. It is, though, too early to make a definitive conclusion. So far I like it and will continue to try it a few more times.
The weather is one thing I want to touch upon. I realised that right now is there perfect temperature in Bangalore for sourdough. It is around 25-28C and slightly humid which works well for sourdough. So I am making the most of the weather and baking as many loaves as possible.
If you like sourdough breads, check out this amazing Sourdough Sandwich Loaf. If you have been thinking of starting a sourdough starter then check out this detailed guide on creating and keeping a starter alive.
How to perform the coil fold for sourdough breads
Ingredients for the sourdough bread
For the Sourdough Starter
- Sourdough starter (unfed from the refrigerator) 10 gms
- Flour 20 gms
- Water 20 gms
For the Dough
- All purpose flour 240 gms
- Water 180 gms
- Starter (from above) 50 gms
- Salt 6 gms
Feeding the starter
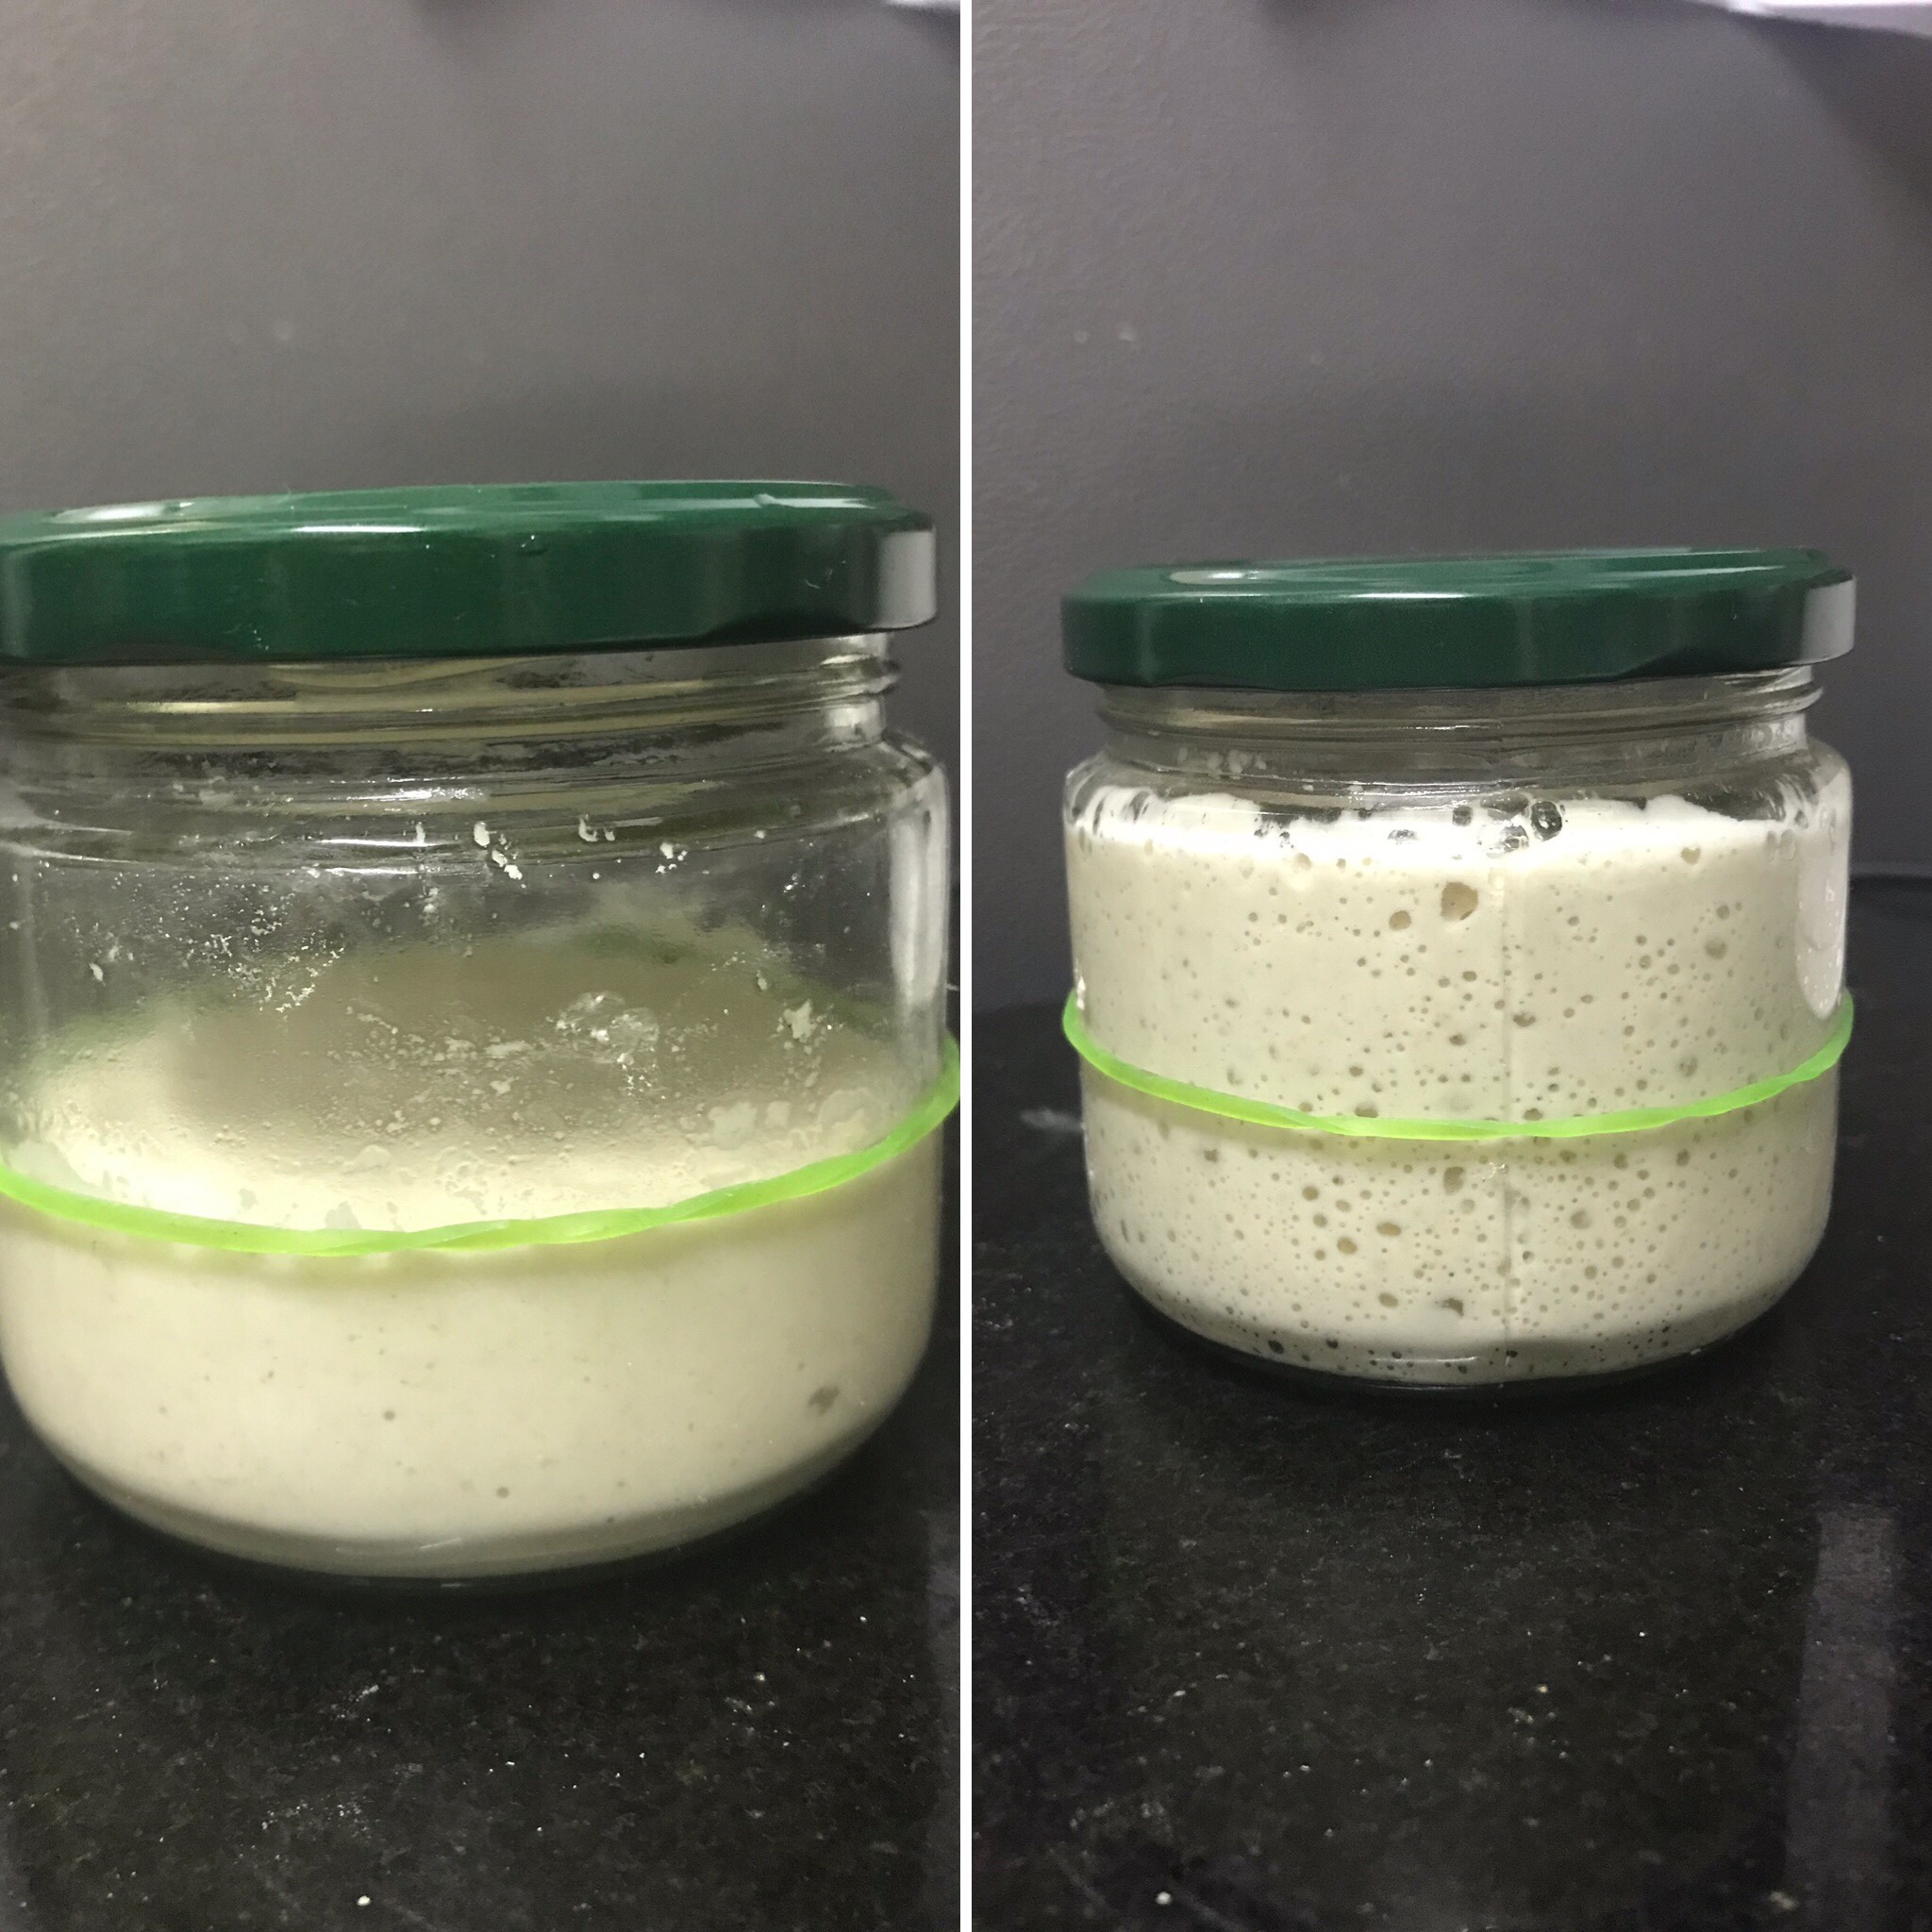
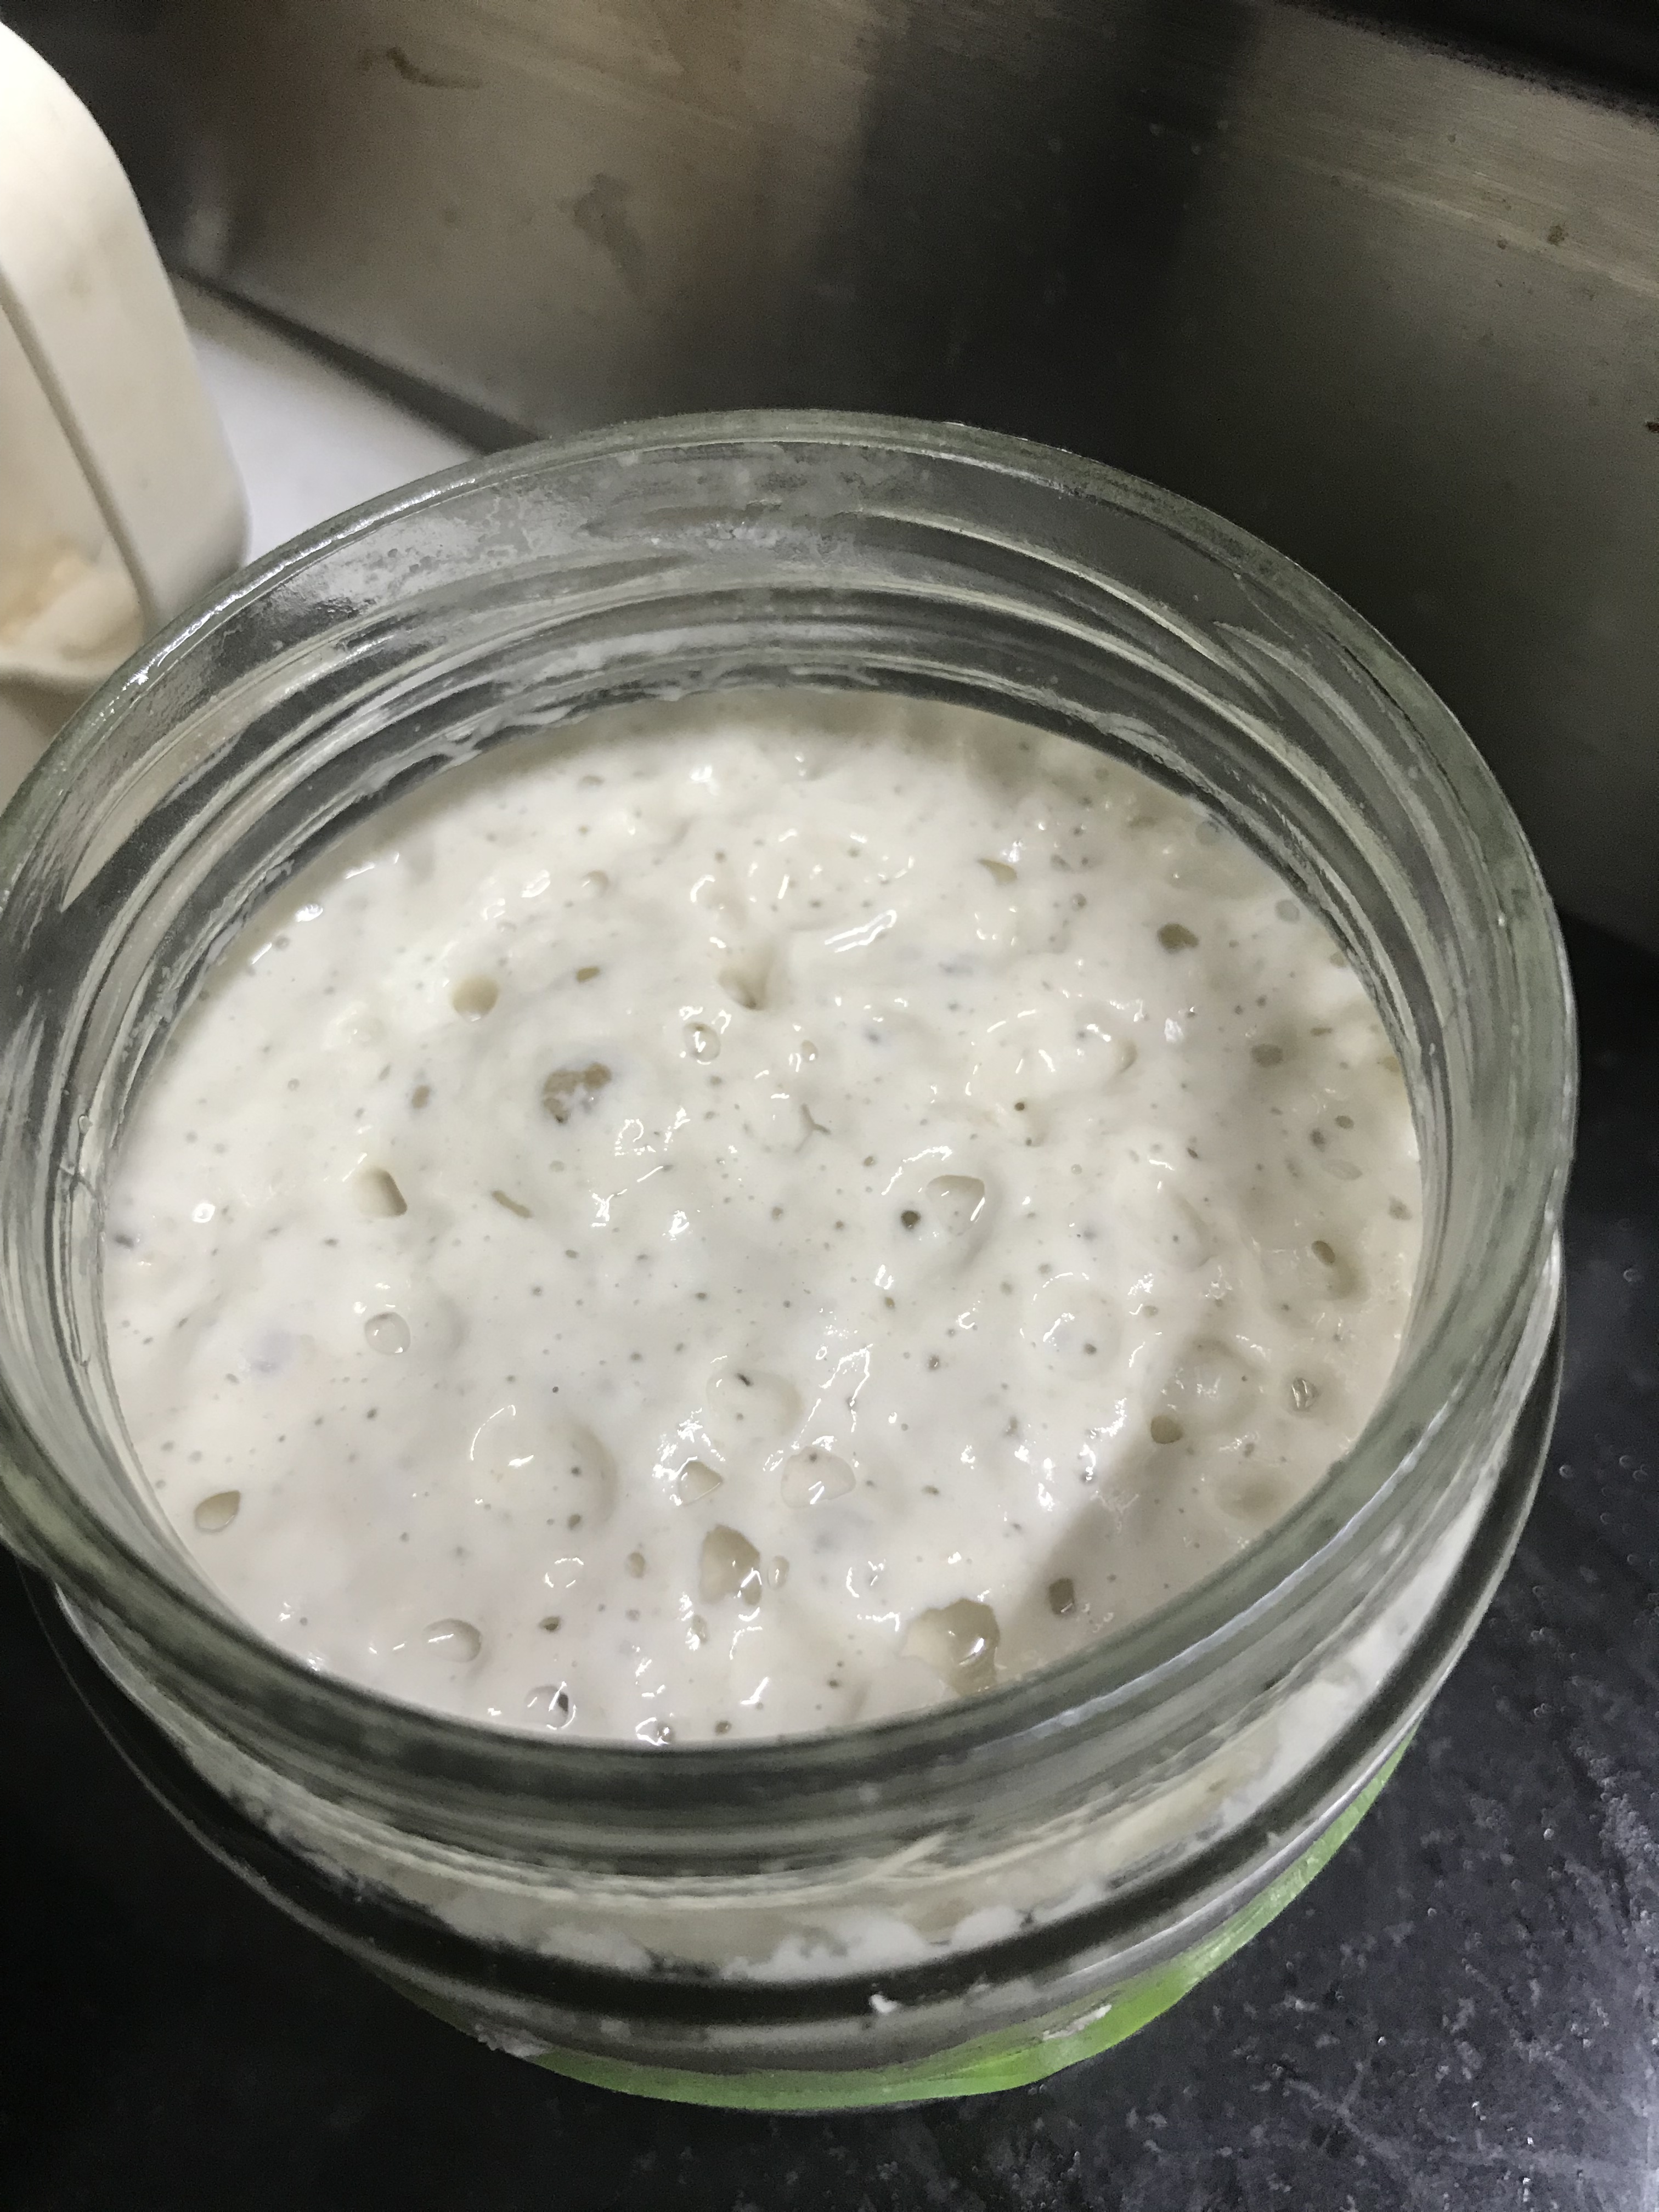
I used 20% starter for this loaf and so I took 10gms of the mature starter from the refrigerator and fed it 20 gms each of flour and water. It is a good stage to reach when our starter can take double the feed and rise significantly in 4-5 hours. If you have the starter in the refrigerator for around a month or so without any feed, it will be a good idea to do two feeds before starting to make the dough for the bread. As you can see in the pictures below, the starter has nicely risen with lots of activity and ready for the dough.
Autolyse – the most important part of the process
Mix the flour and water till fully incorporated. Do not knead. Set aside for 1-2 hours. This process called the autolyse, I believe, is the most important part of the sourdough bread baking process. If the temperatures in your city is low then an autolyse of even 4-5 hours is recommended. I autolyse the dough for 2 hours.
Mixing the Starter to the Dough
Once the starter is double in volume and the flour and water have autolysed for a couple of hours, mix the starter and the salt to the dough. Use the stretch and fold and pincer methods to easily blend in starter and salt into the dough. Knead for 2-3 minutes so that the shaggy mix of the dough is transformed into a smooth dough ball. Let it rest for around 30 minutes.
Coil Fold
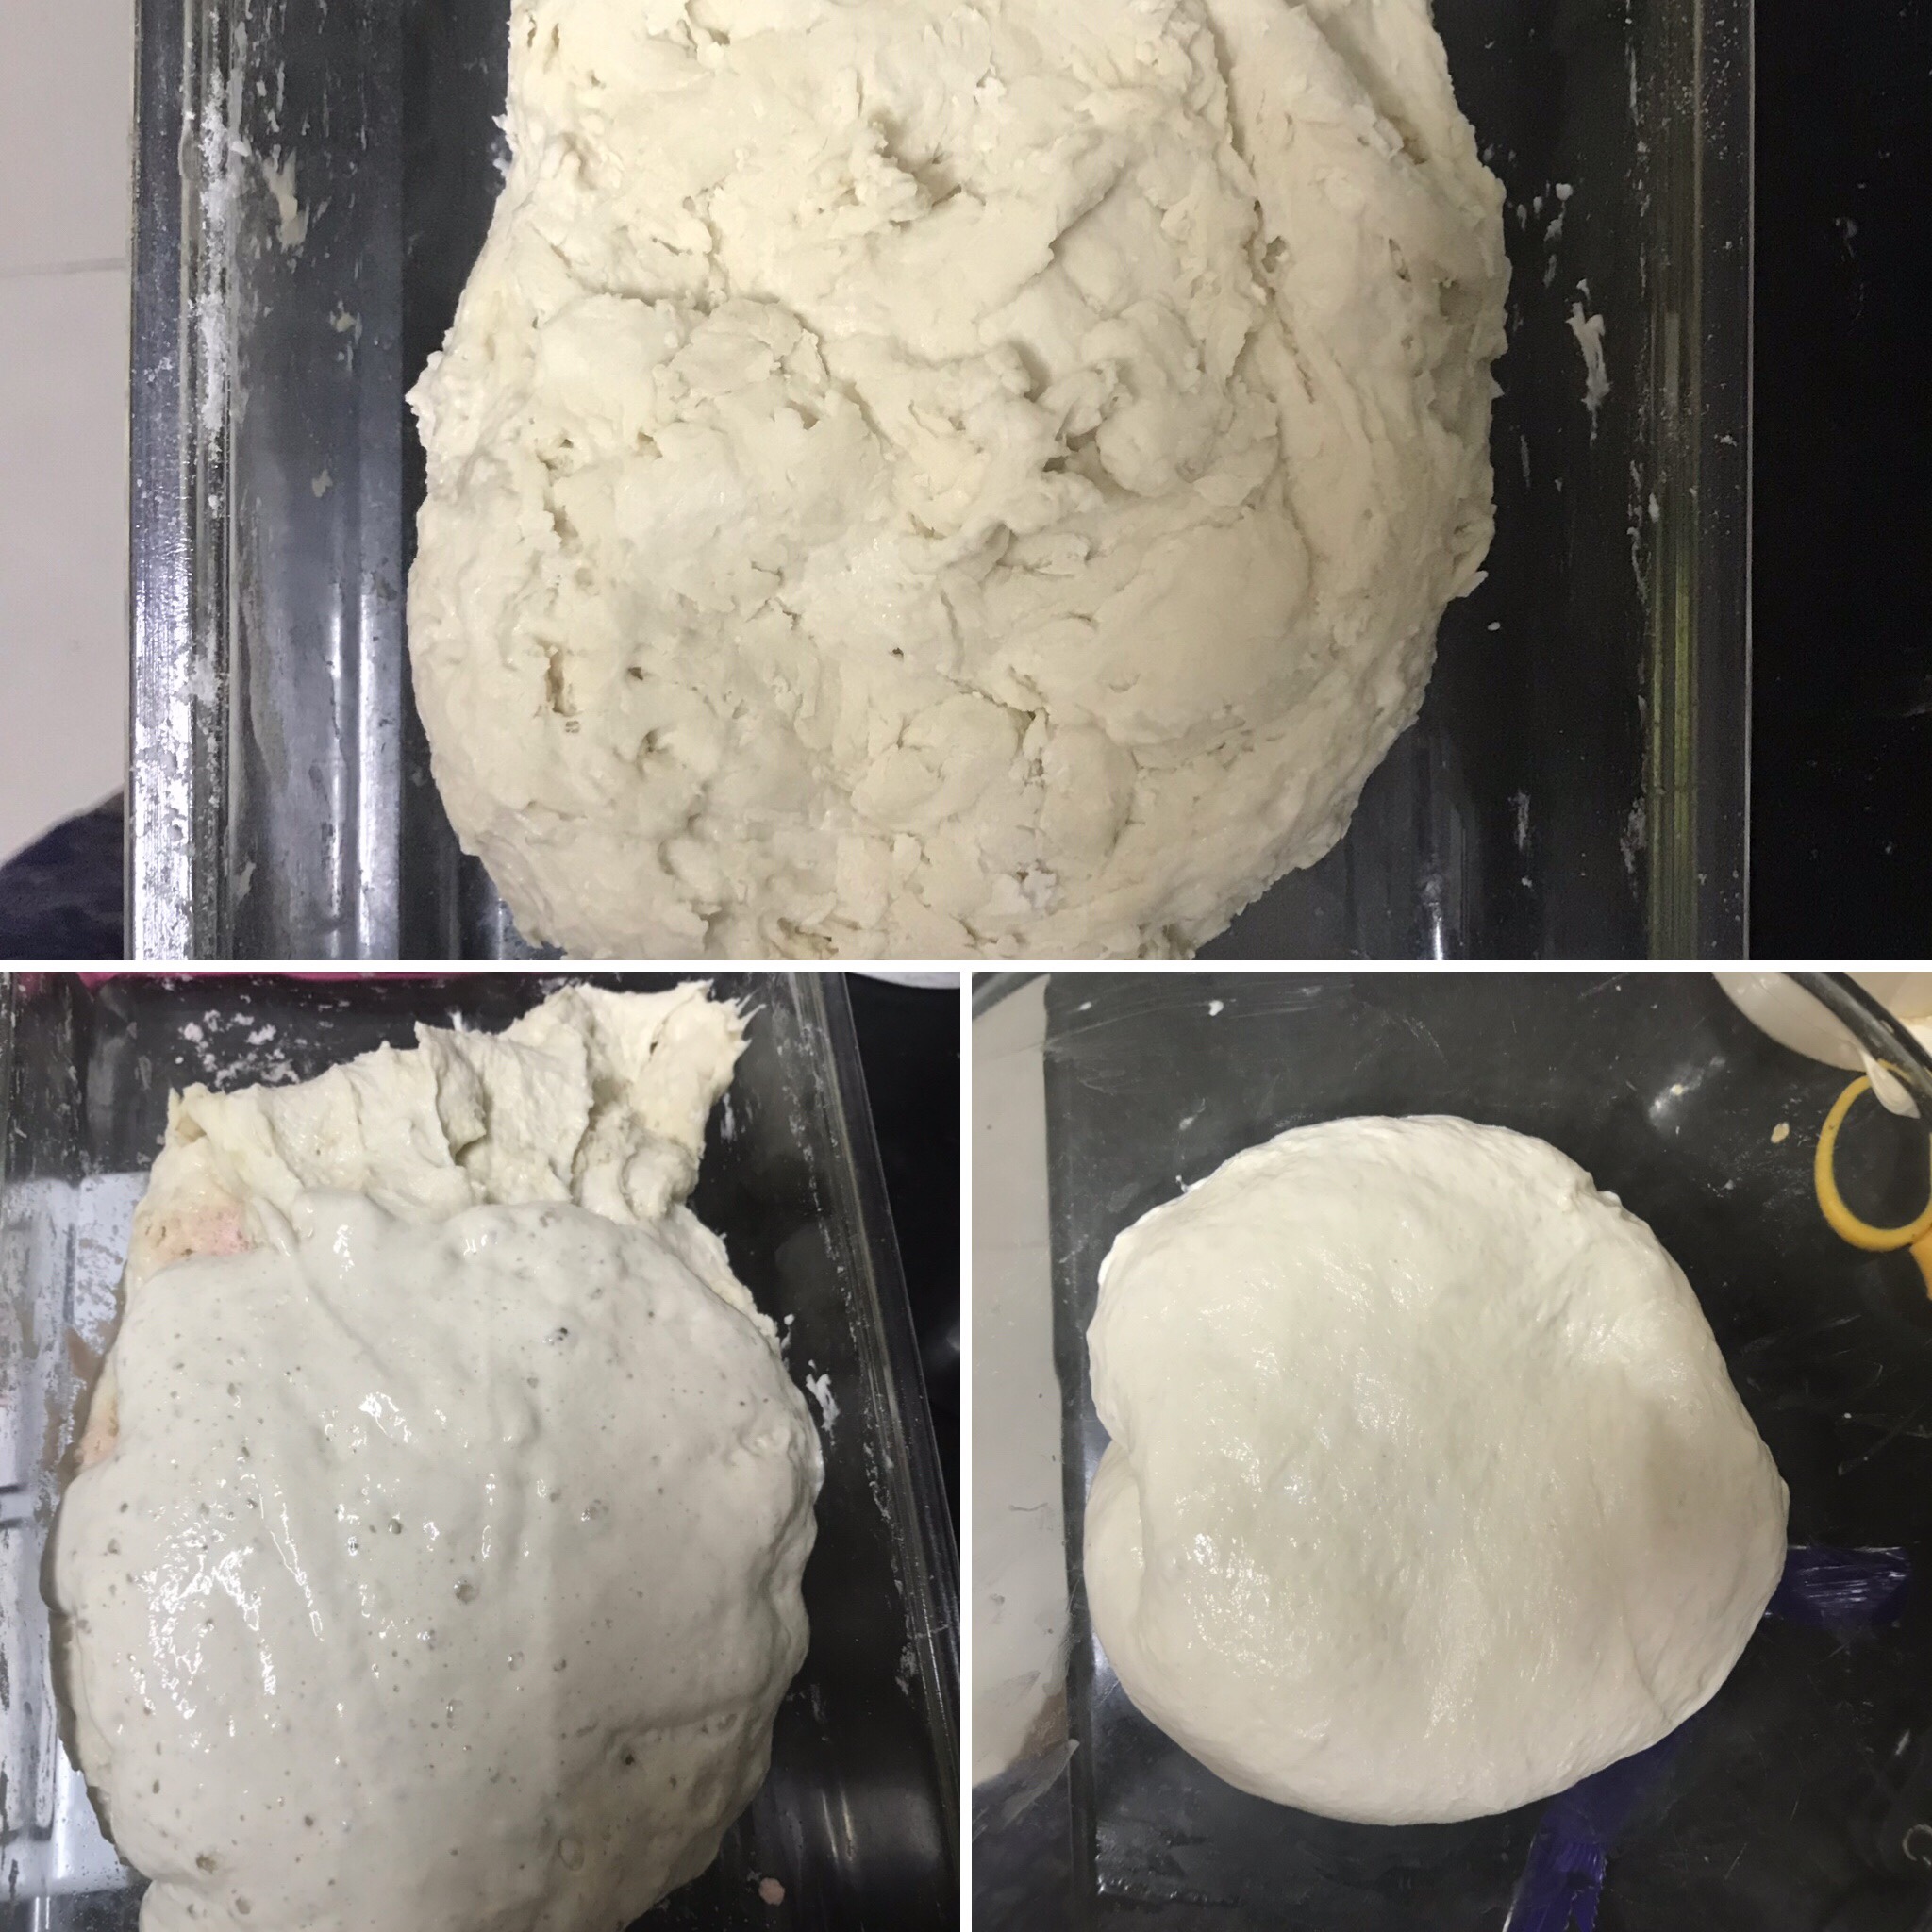
In the next 2 hours, perform 4 rounds of coil folding at 30 minute intervals. Coil folding is another method of strengthening and developing gluten in the dough. It is an alternative to the more popular stretch and fold method. I have found that the coil fold gives me a lighter and more open crumb.
In this method, lift the dough from the middle with both hands. The four fingers have to be below the dough and only the thumbs above the dough. Lift the dough and place it on the container like a coil. Turn the bowl / container and repeat the process. Check the video above. By the fourth time the dough will be soft, fluffy and not sticky. Cover and leave the dough to double for 3-4 hours at 23-24C.
Shaping & Proofing
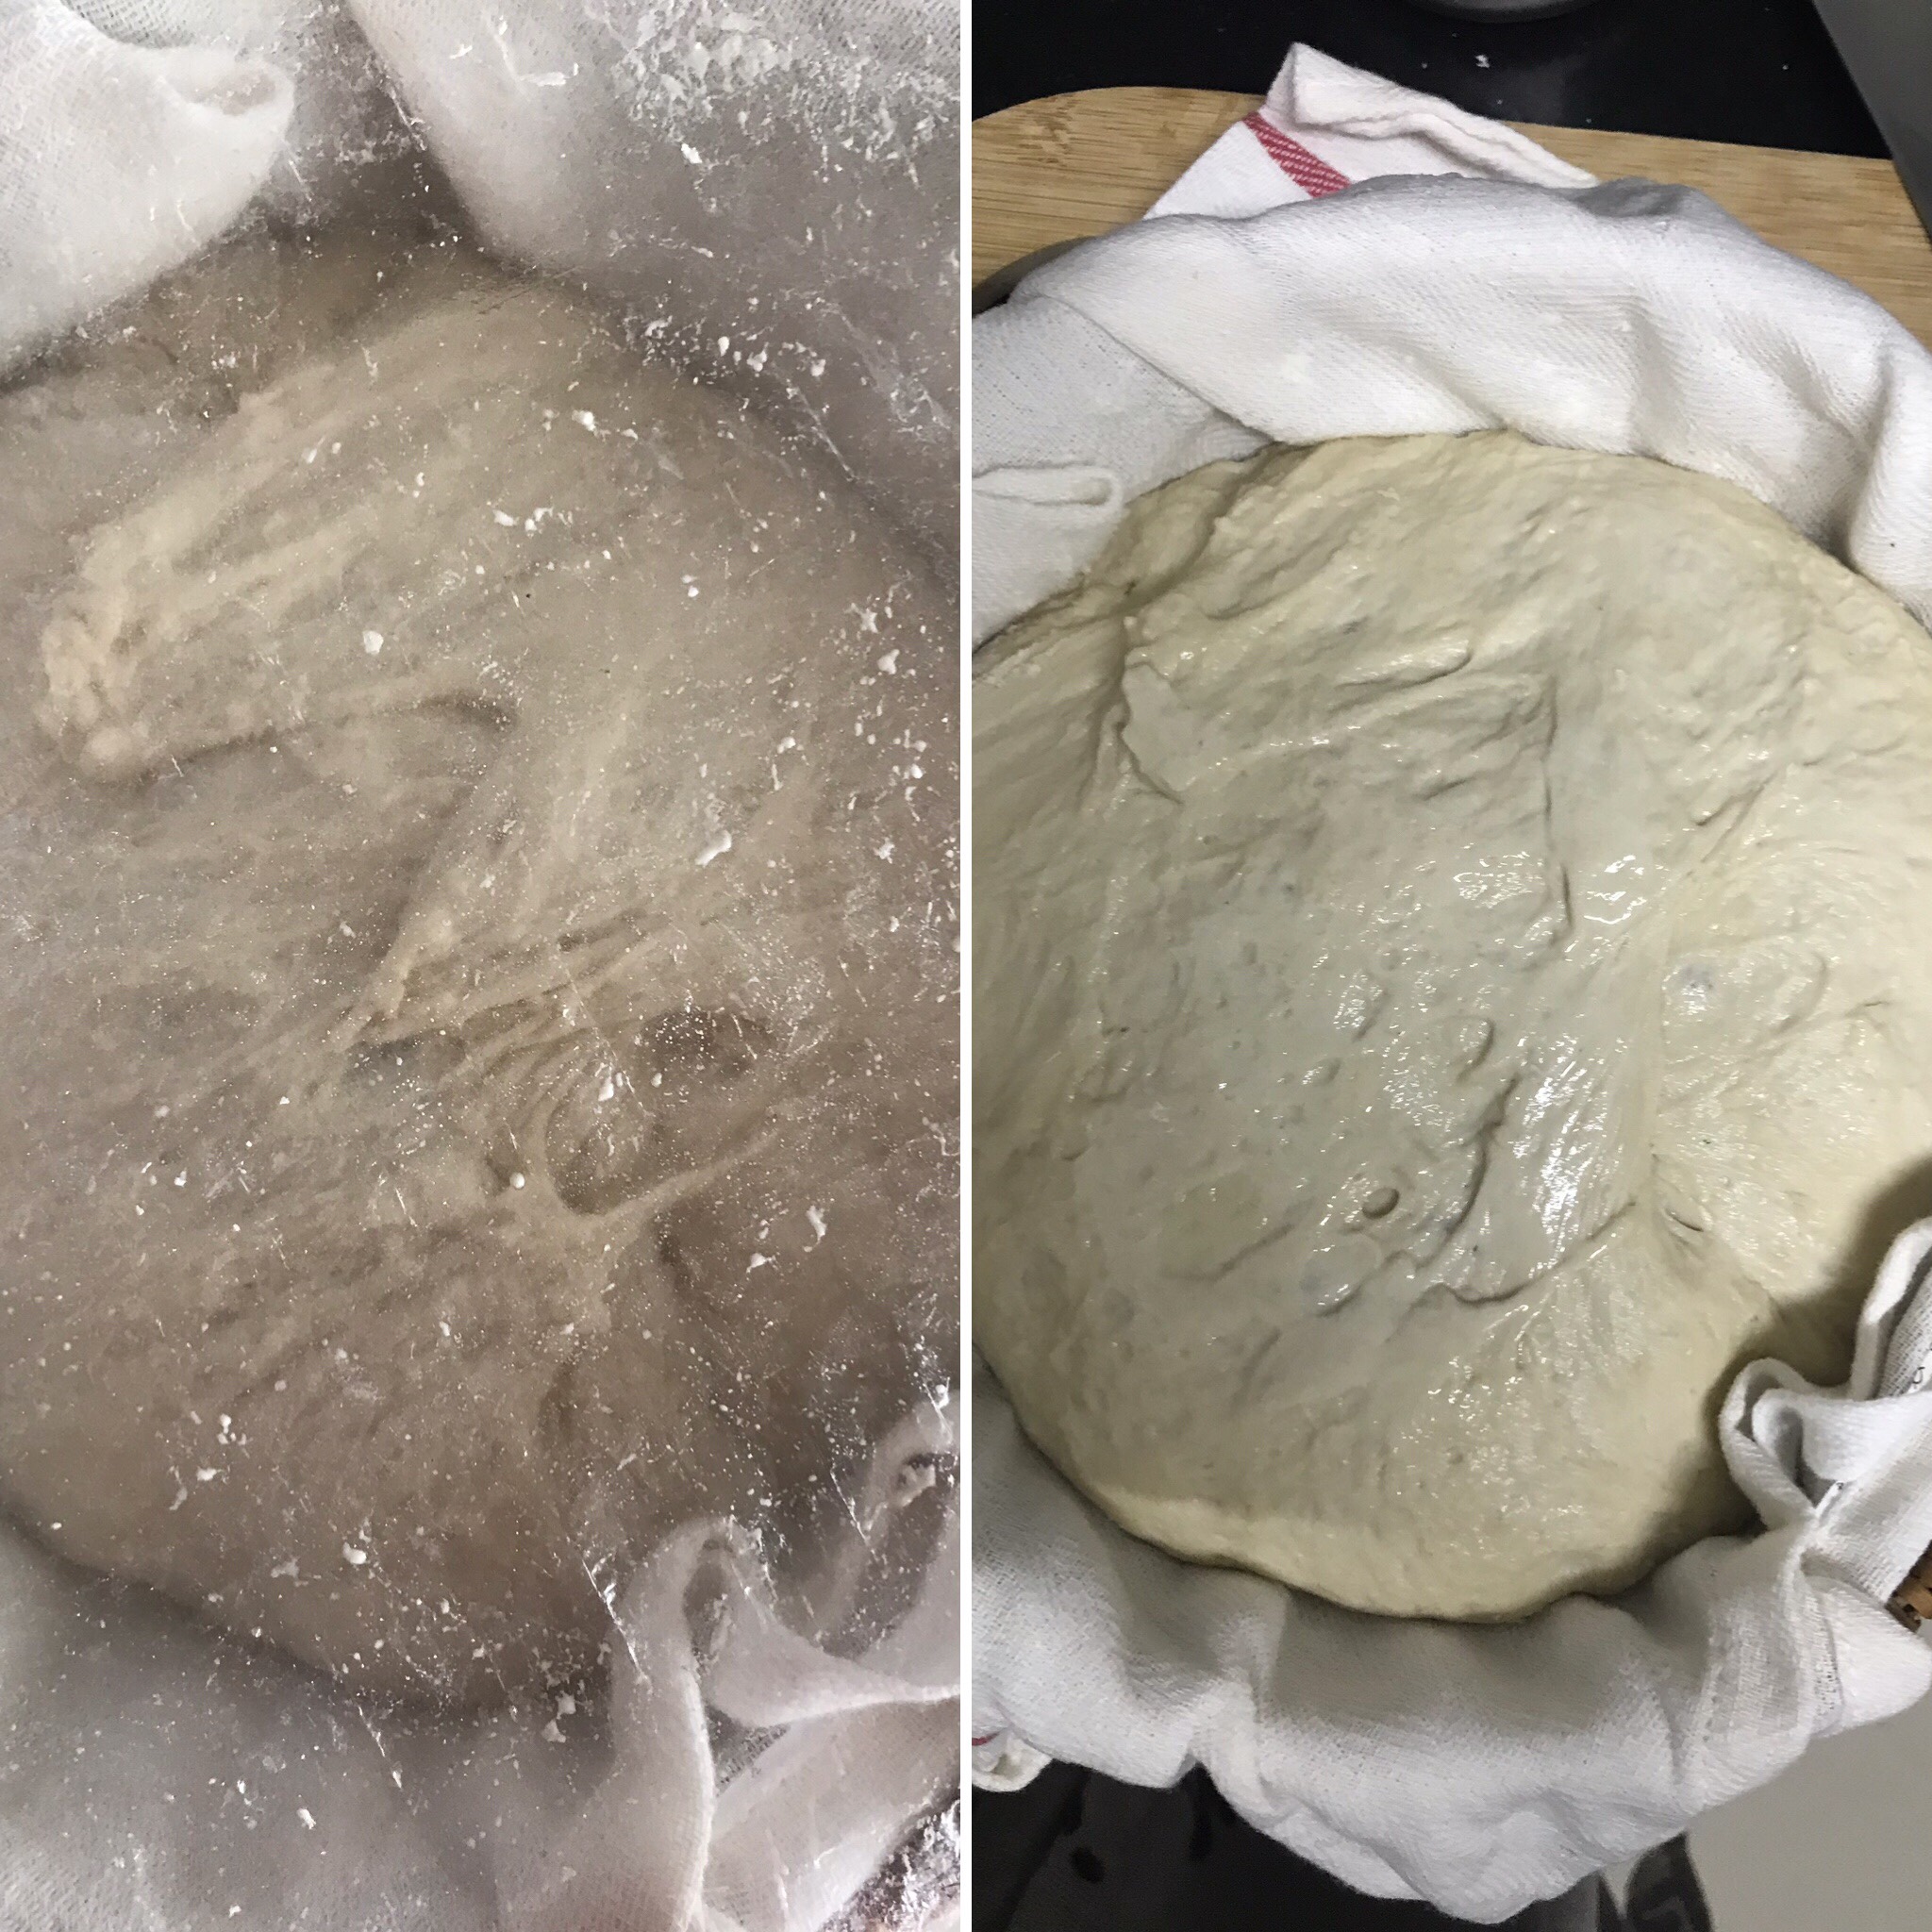
Transfer the dough to a lightly floured surface. Shape the dough by pulling it on all sides by folding like an envelope and stitch it together. Check the video above for the process. Cover and refrigerate the dough for around 10-12 hours till it doubles in volume as shown in the picture below
Baking
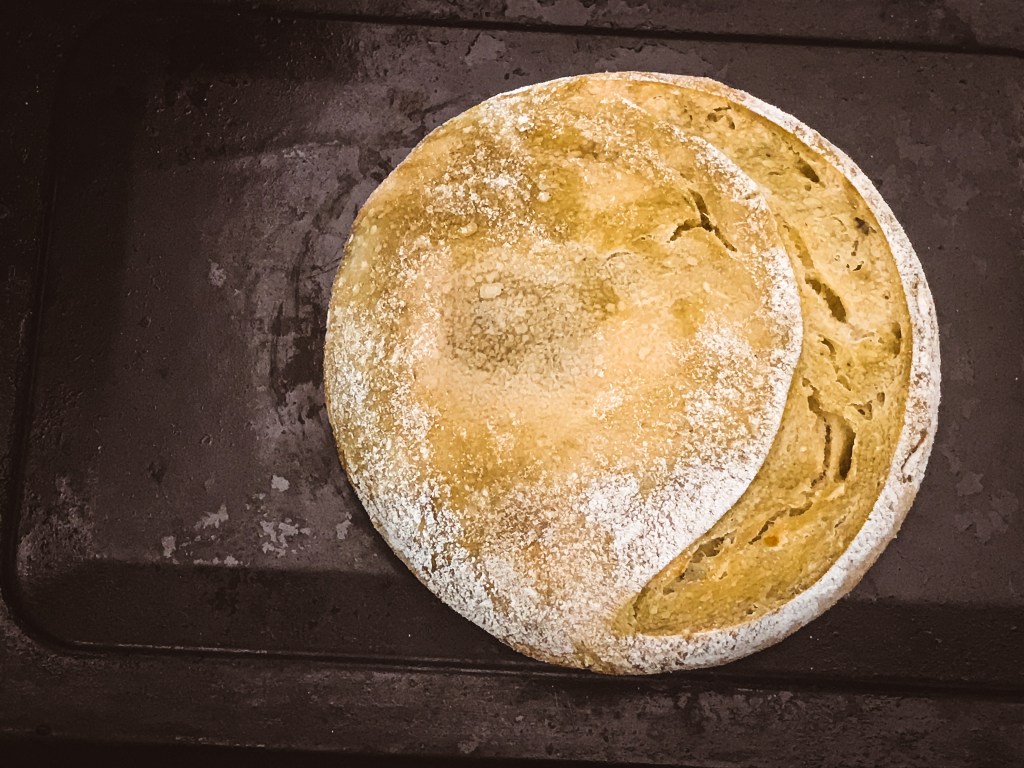
After proving the dough, transfer it to a Dutch oven (preferably) or an oven safe container with a lid and sufficient space for the loaf to expand. Cover with the lid and bake for 40 minutes at 230C. Uncover and bake for 10 minutes.
Set aside on a wire tray till the loaf cools completely. Do not slice till the loaf has cooled down completely. Slice with a bread knife.
Enjoy!
PIN IT FOR LATER

This is my post for the Blogging Marathon under the theme, ‘Breads of a kind’.

Check out the Blogging Marathon page for the other Blogging Marathoners doing this BM


Bread making is an art in itself. I love how much passionate you are about it and how lovely the loaves have turned out.
LikeLike