
It is December which means it is time for Bake-a-thon when I am part of the enthusiastic food bloggers group who blog about baked dishes three times a week for this whole month. As usual I had big time plans of having a specific theme for this month and being prepared in advance. Though I did not manage to get the theme working, I did manage to be quite well prepared for once. My theme was to be sourdough baking but I had quite a few failures in my experiments and so I have decided to put that aside for now and get back to it once I have figured it out.
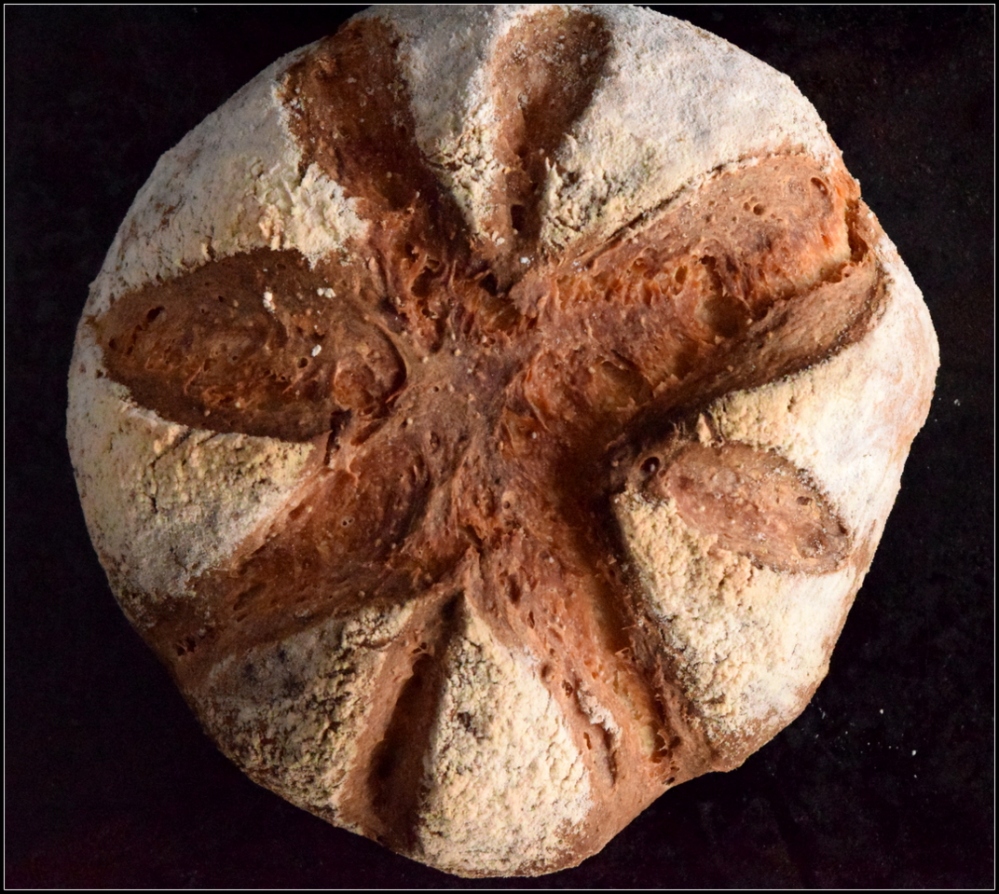
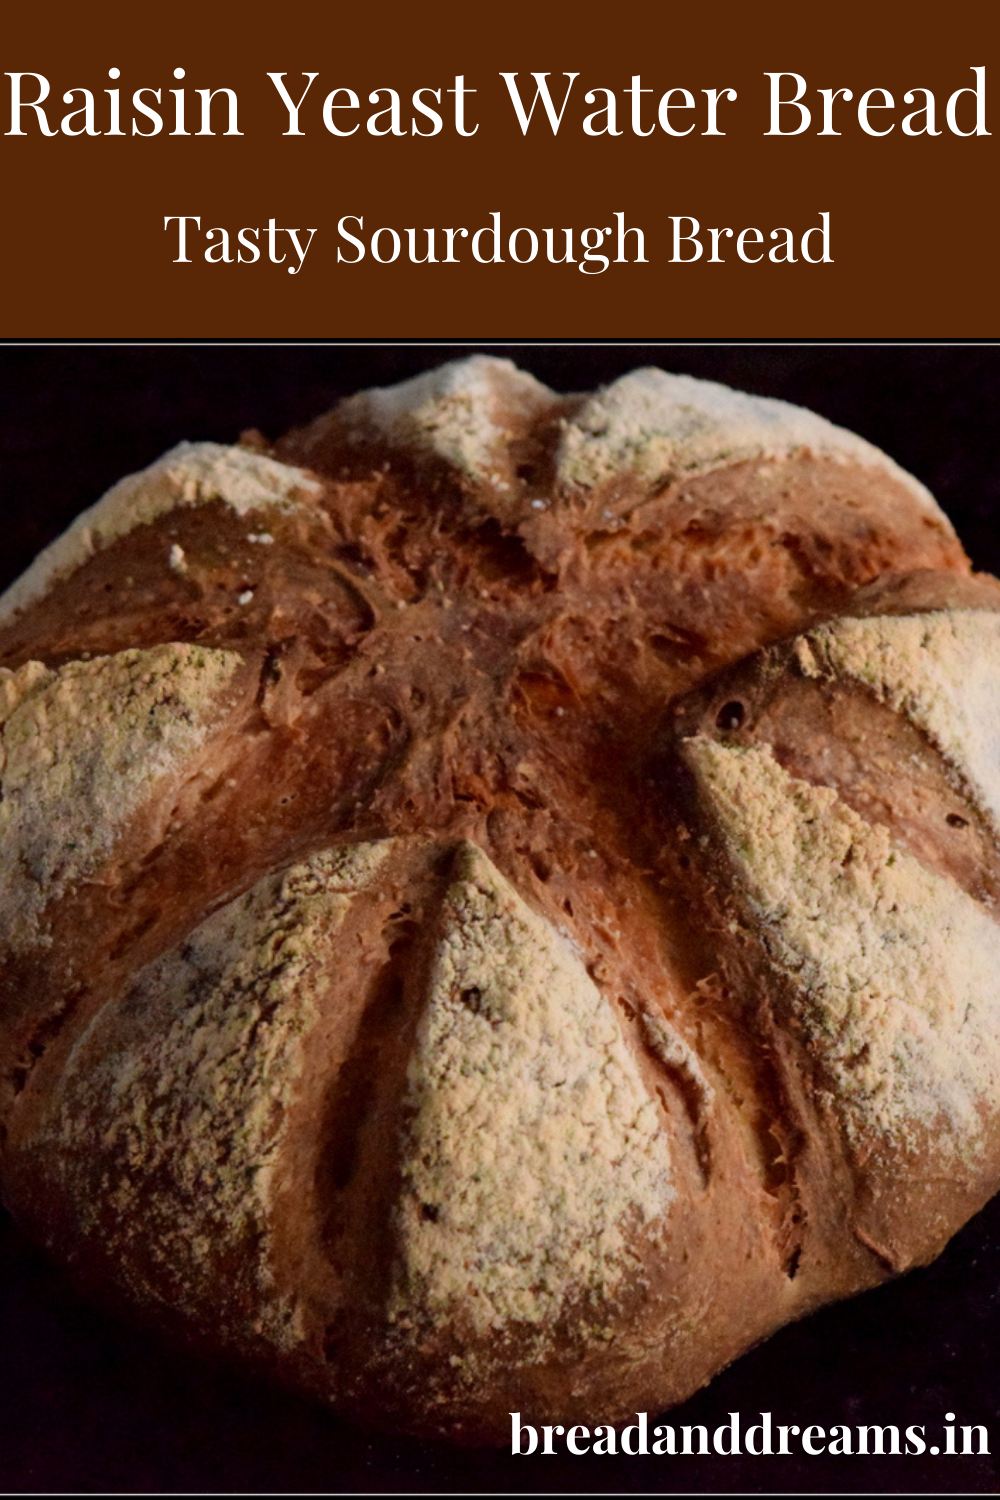
One of the experiments I did was baking with sourdough and yeast water. I discovered yeast water by chance and have been fascinated by it ever since. There are not too many blogs and websites focused on yeast water and so most of my information and knowledge is based on what I get from other people on FB groups. I had blogged about making yeast water and this is the bread I baked from that yeast water. The results are not perfect but quite nice for a first time effort. Raisin is the easiest to start with for yeast water but it can be made with other fruits like apple, peach, cherry, etc.
If you do not have yeast water, you can bake with regular water to get a beautiful loaf.
Makes one 8″ bread
Recipe adapted from here
WHAT WE NEED
For the preferment
32 gms All purpose flour
32 gms Raisin yeast water
8 gms Sourdough starter
For the dough
Preferment from above
115 gms Whole wheat flour
40 gms All purpose flour
60 gms Raisin yeast water
60 gms Warm water
4 gms Salt
WHAT TO DO
- Mix the flour, raisin yeast water and salt for the preferment, cover with cling film and set aside for 12 hours
- The preferment should have increased in volume and feel alive
- In a large bowl, take the flours, raisin yeast water, warm water and salt
- Add the preferment and mix well to ensure no dry flour is left
- Knead the dough for 5 minutes till it becomes soft wet dough
- Cover it with cling film and set aside for an hour
- Dab some flour on your hand and lift a part of the dough gently from below without tearing it apart, stretch till you feel the resistance from the dough and fold it on top of the rest of the dough. It is similar to folding the dough into half
- Turn the bowl 90 degrees and repeat the procedure till you have folded in the dough on all four sides.
- Set aside covered for 45 minutes
- Repeat the stretch and fold another time on all four sides and set aside for an hour
- With each stretch and fold the dough will be more firm and less wet
- The dough needs to be shaped. It can be any shape of your choice – like a boule, loaf, etc.
- Transfer the dough to a lightly flour-ed surface and shape it as per your choice
- Set aside and let it proof for around 2 hours
- Press the dough with a flour-ed finger. This is the finger dent test. If the dough springs back immediately then it needs to proof for longer. If it does not spring back then it is overproofed. If it springs back slowly but not completely then the dough is proofed right
- Try the finger dent test at around 1 and half hours and then again around 2 hours
- Preheat the oven to 230C for 20-30 minutes
- Transfer the dough carefully to a baking tray
- Slash the top so as to allow the steam to escape without spoiling the shape of the bread
- Bake for 40 minutes
- Take off the loaf from the oven and let it cool completely before cutting it into slices
- Enjoy!
 This is part of the Bake-a-thon 2017


looks lovely Sowmya! I’m reading up your post on yeast water too. I remember baking a bred with it a coupe of years ago, when i also had a sourdough starter going. Sadly, the starter died and I’m yet to start another one!
LikeLike
Do start another one…I could do with some company 🙂 it is so amazing to bake with SD
LikeLike
Even i want to try yeast water, and am in love with your bread, love that rustic look. You baked it prefectly.
LikeLike
Thanks a bunch Priya
LikeLike
I remember this from your insta. The yeast water sounds good to try this bread.
LikeLike
Thank you Sapana
LikeLike
Sour dough breads are like a dream for me . Every time I see one I feel like trying ,but lack my courage . Hoping to overcome that fear .
Yeast water sounds new , but the bread looks absolutely stunning !
LikeLike
Thanks Vaishali. Do try sourdough baking….am sure you will rock it just like everything else!
LikeLike
Looks super delicious, and I would’ve loved seeing the crumb inside sowmya!
LikeLike
Sowmya, you are a bread master. I need inspiration from you to make variety of breads. So far my bread making is limited to normal loaf or buns.
I had seen one of your post on yeast water either on Insta or fb, I don’t remember. That time only I had decided to give it a try some day. It’s on my to do list for the next year.
LikeLike
Thanks Ritu! You made my day. Do try and let me know how you enjoy it.
LikeLike
I am not an adventurous baker as far as breads are concerned. Even the normal bread has flopped for me a few times now… 😦 I don’t know why… Looking at this bread, I yearn for my hands to get a little friendly with these kind of beauties! Can’t wait to see what you come up for the remaining 12 days…
LikeLike
Thank you Rafeeda 😀. Suggest you pick a simple recipe and try it out…making bread at home is very satisfying
LikeLike
Sour dough is something I am hesitant to even start looking into! But I have seen and heard a lot about it and yet cannot take the plunge. Your bread looks absolutely beautiful.Looking forward to your other bakes in this series Sowmya.
LikeLike
No words! Simply. Stunnning . Everytime
LikeLike
That’s a very very interesting bread with yeast water. Crust looks amazing.
LikeLike
Such a pretty bread sowmya ! sourdough is in my to-do list for a very lonnnggg time now! It gets postponed just like that! i remember u sharing this bread in insta! Yeast water sounds interesting!
LikeLike
Now I have to learn all about yeast water You’ve inspired me
LikeLike
I recently got my starter going and baked a boule and a batard.. This looks like perfect next venture for my starter!! Awesome!! You have got some amazing breads here,,
LikeLike
Thank you so much for dropping by. Glad you like the breads….do try and let me know how it works for you!
LikeLike
Wow ! Another beautiful bread . Love the way it has turned out , so earthy and rustic .
LikeLike
Raising yeast sourdough bread looks perfect with some tea or coffee. I love the slight hint of sweet from raisins here.
LikeLike