I have a bread today which I owe to my sudden bouts of cleaning my kitchen. There are certain days, however rare, when I go into a cleaning mode. Nowadays I do more frequent cleaning but just a small area at a time. When I was clearing up my baking section, I discovered a pack of wheat bran that I bought quite a while ago and which was due to expire in another month. I got into panic mode and have been trying to add bran in everything and simultaneously convincing my husband and daughter that it is the absolute healthiest and best thing they can ever have.
I had to get a bread recipe with bran and I got super lucky with this Cornell Bread. This one is from ‘The New Artisan Bread in 5 Minutes a Day’ and is a keeper primarily because my daughter loved it. It isn’t often she loves bread unless it is topped with excessive jam. Cornell bread was developed during World War II when food rationing worried people about giving adequate nutrition to their children. It was the Cornell University Professor Clive McKay who developed the bread including dry milk, wheat germ and soy flour to provide proteins and vitamins.
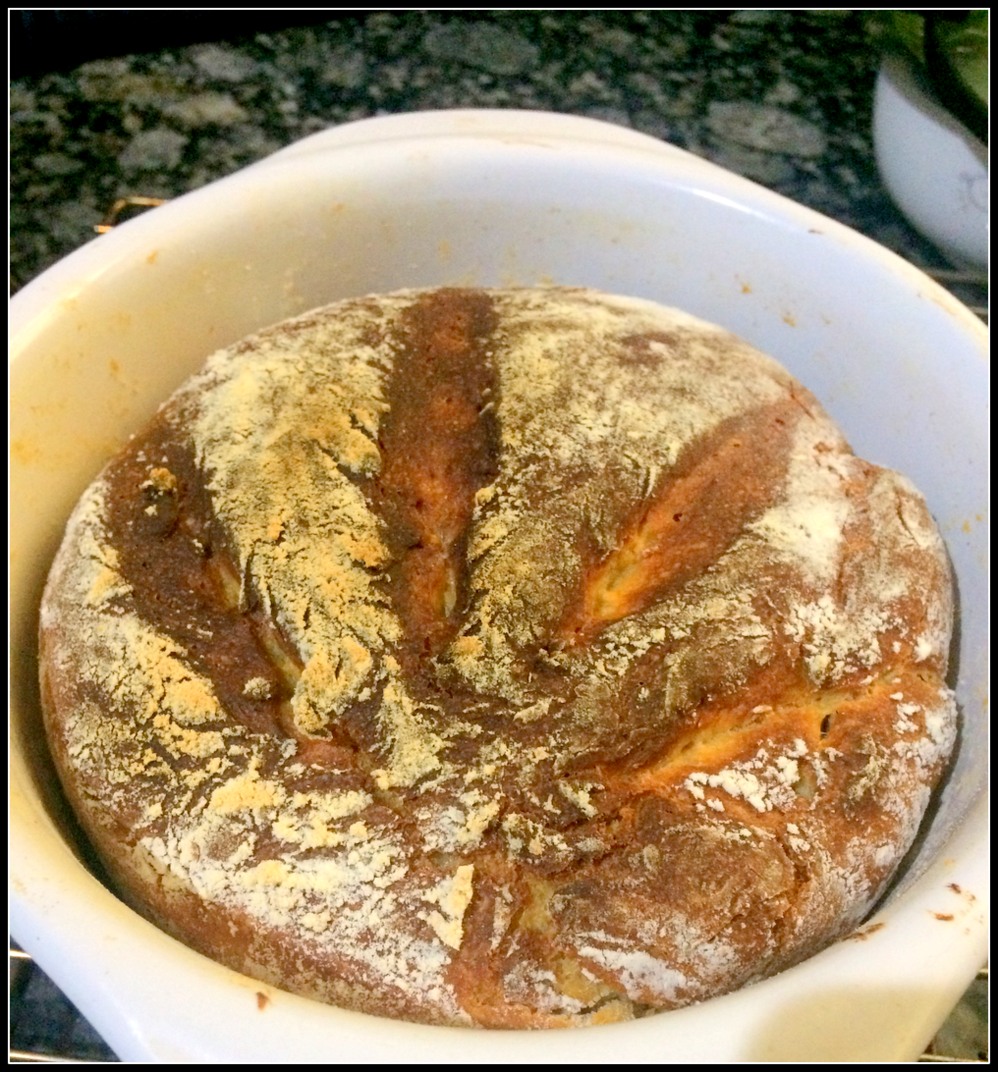
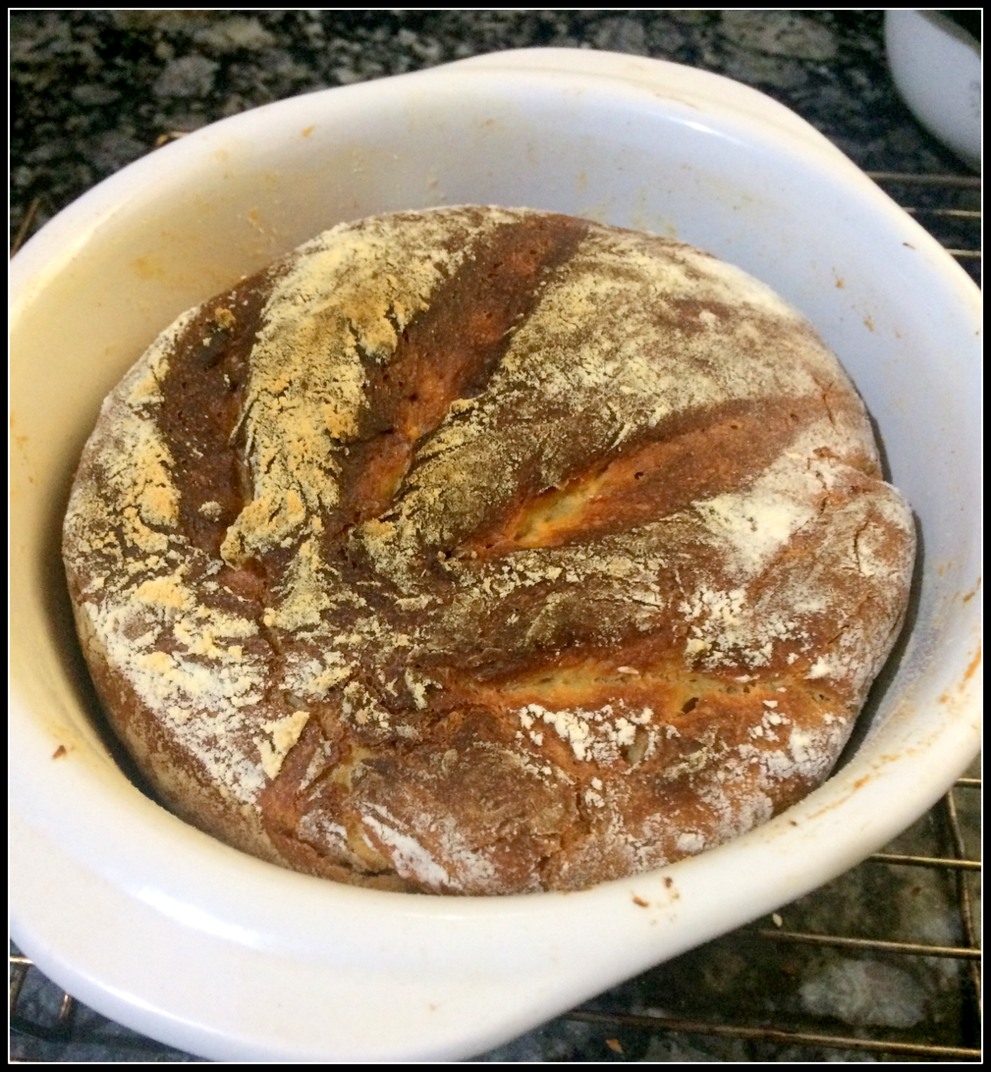
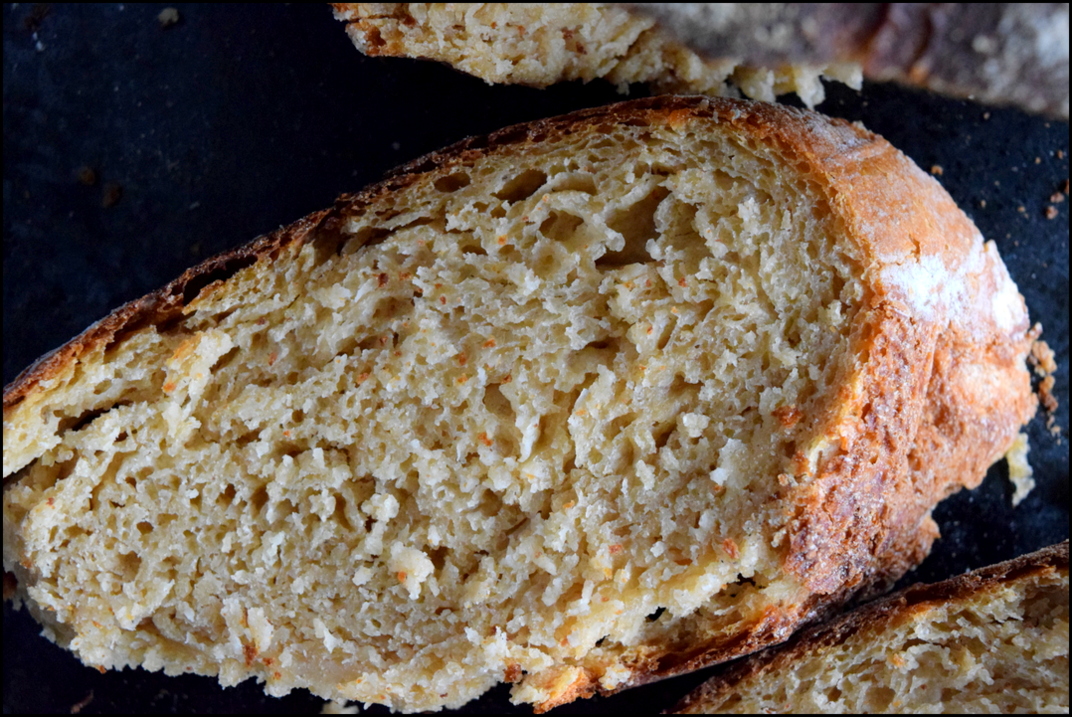
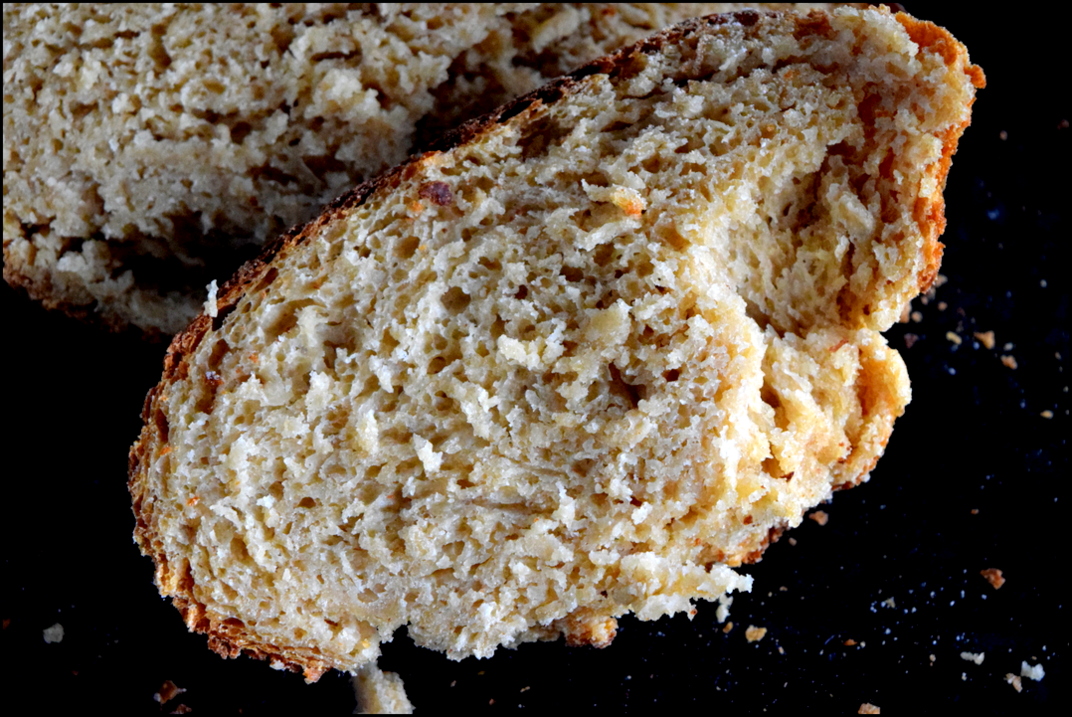
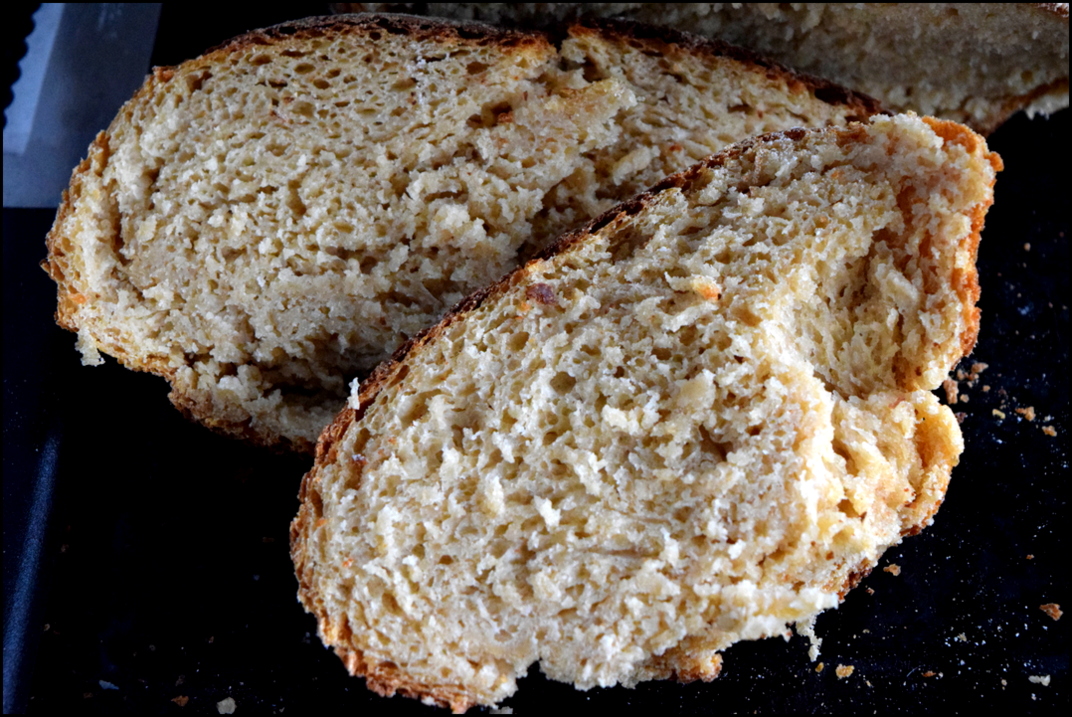
Since I did not have wheat germ, I used wheat bran. I also used a lot more bran and soy flour than the original recipe because my primary purpose was to get a healthy loaf (and more importantly finish the bran and soy flour). The loaf was beautiful and tasted well even for the husband and daughter. It worked great as a buttered toast too. So try this awesome loaf and let me know how you liked it.
WHAT WE NEED
212 gms All purpose flour
185 gms Whole wheat flour
50 gms Soy flour
20 gms Wheat bran
393 gms Lukewarm water
5 gms Instant yeast (1 1/2 tsp)
23 gms Honey
12 gms Salt
19 gms Milk powder
WHAT TO DO
- Mix the all purpose flour, whole wheat flour, soy flour and wheat bran with water and set aside for half hour
- After that, add the yeast, honey, salt and milk powder and mix well. Cover and set aside.
- Stretch and fold the dough after 20 minutes and again after 45 minutes. The dough should be relaxed completely before the stretch and fold.
- Let the dough rest and double in size. It should take around 2 hours depending on the temperature of the dough and weather. The ideal dough temperature is 25-26C. If it is less then the dough will take longer to rise.
- You can shape the dough after it has doubled but it will be easier to handle after 3 hours of refrigeration. I let it refrigerate for 16 hours because of a change in my schedule. Dough can be refrigerated up to 7 days.
- Take out the dough and gently transfer it to a lightly floured surface
- Shape it into a ball by stretching it gently on one side and pulling it back and below the dough. Turn the dough 90 degrees and repeat till all four sides are pulled back and the dough is ball shaped
- Let it proof for 1 hour. Press the dough lightly with a floured finger. If it springs back immediately it is not yet prooofed. If it doesn’t spring back at all then it is overproofed. If it gets back to position slowly then it is rightly proofed. This is the finger dent test
- Preheat the oven at 250C
- Transfer the dough to a greased and floured oven safe bowl
- Sprinkle some dough on top and make few incisions in any desired pattern and close with a lid
- Bake it covered for 20 minutes and then take off the lid
- Lower the temperature to 225 and bake uncovered for 20 minutes
- Lower the temperature to 200 and bake for 7-10 minutes till it gets a nice dark brown colour
- Take it out of the oven and gently unmould the bread from the bowl
- Let it cool completely on a cooling rack before slicing
- Enjoy!
NOTES
- If soy flour is unavailable then you can replace it with equal amount of whole wheat flour
- If you want to measure the ingredients in cups instead of gms then here is a nice conversion chart you can use
 This is part of the Bake-a-thon 2017


Nice write up about this cornell bread, love that dark brown crust of this bread, prefect bread to kick start a day with some butter and jam.
LikeLike
I love the texture of your bread Sowmya, and talking about things getting expired, I must have a load of such ingredients stocked!
LikeLike
Beautiful loaf! In love with all your breads. Now to get some soy flour!
LikeLike
You are not alone in that case! I have so much stuff wanting to be cleared, and I am really worried how I will do it… 😦 This bread is really beautiful as well… I suppose we add the yeast along with the flours and water?
LikeLike
Thanks for pointing that out Rafeeda. I have updated it now – first we mix the flours and water and leave it for 1/2 hour. Then we add yeast, salt, etc.
LikeLike
The crust looks so perfect and nicely done. Another wonderful bread from you.
LikeLike
wow this is one I definitely want to try
LikeLike
so much health in one loaf – too much to handle (I can clean the cupboards for u if u promise to teach me bake !!) Lol !
LikeLike
What a beautiful bread that is Sowmya — perfect crumb and crust.
LikeLike
Wow, love that beautiful texture sowmya! perfect crumb!!
LikeLike
Wow! That’s a healthy bake there Sowmya
LikeLike